How To Repot An Overwatered Monstera
Most people know almost nothing about how to repot an overwatered monstera. That's about to change.
At a Glance
- Subject: How To Repot An Overwatered Monstera
- Category: Houseplant Care
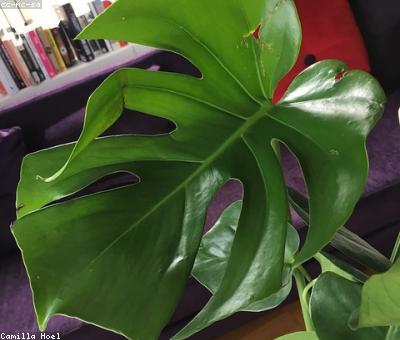
Monstera deliciosa, the beloved "Swiss cheese plant", is one of the most popular houseplants of the last decade. But behind its lush, tropical appearance lies a dirty secret - these plants are notoriously finicky about their watering needs. It's all too easy to overwater a monstera, leading to root rot, yellowing leaves, and an overall sickly appearance. The good news is that with the right steps, you can save an overwatered monstera and nurse it back to health.

The First Signs of Overwatering
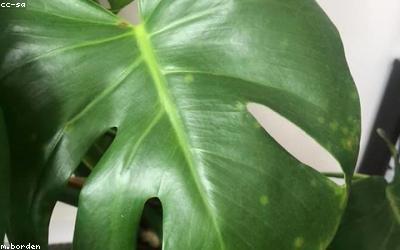
The earliest signs that your monstera is drowning in too much water are often subtle. Look out for leaves that start to yellow, especially on the lower part of the plant. The leaves may also feel soft and limp, rather than firm and upright. Another telltale sign is brown or black spots on the leaves, which can indicate root rot. If you gently lift the plant out of its pot, the roots may appear mushy or discolored.
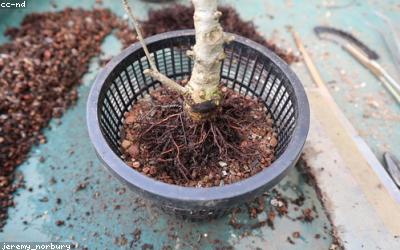
Assessing the Damage
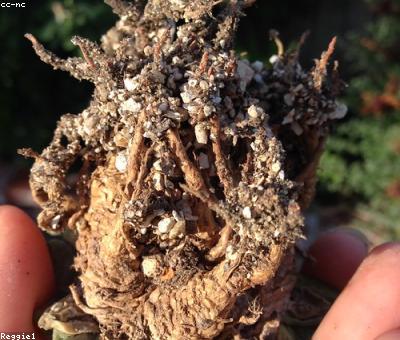
Before you can begin the repotting process, you'll need to thoroughly inspect the plant's root system. Gently remove the monstera from its pot and examine the roots. Healthy roots will be firm, white, and plump. Diseased or dead roots will be brown, slimy, or mushy.
Use a clean, sharp pair of scissors or pruners to trim away any damaged or rotten roots. Be ruthless - you want to remove every single unhealthy section to give your plant the best chance of recovery. If more than 50% of the root system is affected, you may need to start with a brand new plant.

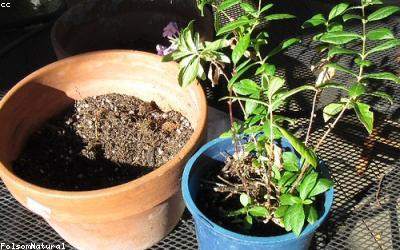
Choosing the Right Pot and Soil
When repotting an overwatered monstera, you'll want to choose a pot that's just slightly larger than the plant's current container. Monsteras don't like to be swimming in excess soil. Select a pot with excellent drainage, either through drainage holes in the bottom or a chunky soil mix that allows water to freely flow through.
As for the soil, opt for a well-draining, aroid-friendly potting mix. These soils are formulated to be lightweight and porous, preventing waterlogging. You can also amend regular potting soil with perlite, orchid bark, or coarse sand to improve drainage.
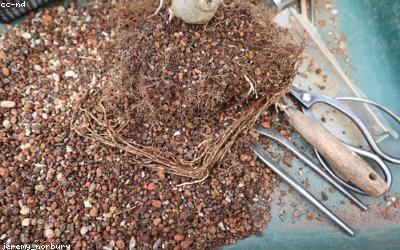
The Repotting Process
Now it's time to get your hands dirty. Gently remove the monstera from its current pot, trying not to damage the remaining healthy roots. Examine the root ball and trim away any brown, mushy sections with your clean pruners.
Fill the new pot about halfway with your fresh potting mix. Position the plant in the center, then backfill around the sides with more soil. Gently firm the soil down to eliminate air pockets, but don't pack it in too tightly.
"The key is to repot your monstera into a container that's just slightly larger than its previous home. You don't want to overwhelm the plant with too much extra soil." - Emily, Plant Care Expert
Post-Repotting Care
After the repotting is complete, resist the urge to water your monstera right away. Allow the soil to dry out a bit before giving it a thorough, deep watering. From here on out, be extremely cautious with watering - stick your finger in the soil and only water when the top few inches have dried out.
Place your newly repotted monstera in a spot with bright, indirect light. Avoid direct sun, as this can stress the plant further. Monitor it closely over the next few weeks, watching for new growth and healthy leaf development as signs that your plant is on the mend.
Comments